On Friday, June 18th at approximately 4:45pm, I set out on an adventure with a good friend of mine, Alex.
We left our boring Central Jersey suburb and hopped on a bus bound for New York City. Typically, the bus ride would last about 45 minutes... Well, two hours later, we arrived at Port Authority in NYC.
That would not deter us... We then hoofed it over to the subway station on got on the A train to Brooklyn. What we thought would be the most harrowing portion of our journey ended up being the most relaxing. Ahh, New York subway, I'm impressed.
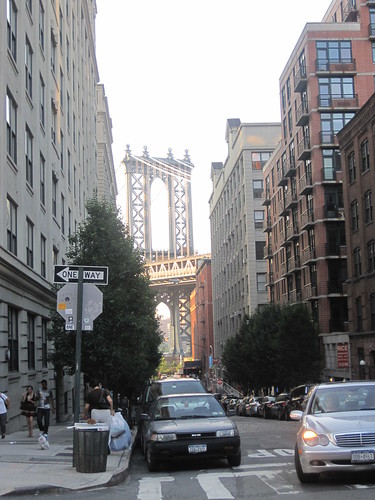
Alex and I climb up the steps onto the streets of Brooklyn, the sun still shining and our destination only a few blocks away. I pull out my handy, dandy iPhone and punch in the address to get walking directions. Well, folks, technology is only helpful when the user fully understands it.
After heading in the wrong direction two or three times, we finally were on the right path. Number fifty-five Washington Street. Not too difficult, right? Try standing on the corner of Washington and Front looking up and down the street for ten minutes not seeing the building you're supposed to be in. We did get a good look at the Brooklyn Bridge, though!
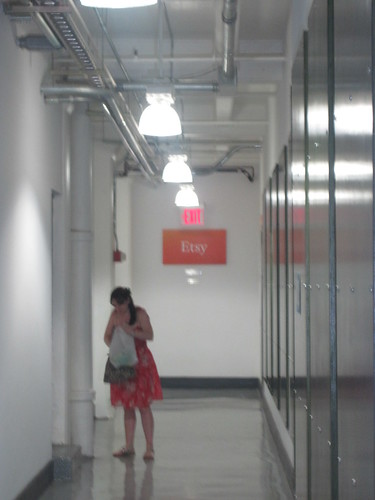
Wait! There it is!! Get to the fifth floor! Hurry, hurry!
Do you see it? Off in the distance... AHhhhh!
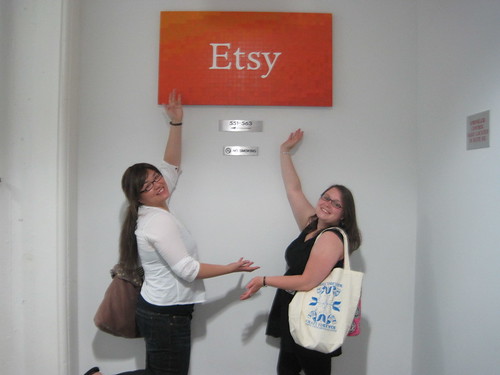
WE'RE HERE!!!
Visiting the Etsy Headquarters in Brooklyn has been on my list of things to do since I first found out Etsy was IN Brooklyn! Work schedules, cruddy weather, and lack of funds prevented the trip earlier, but we would not be discouraged! The Etsy Craft/Birthday Party was the perfect excuse to request off of work and make that journey!
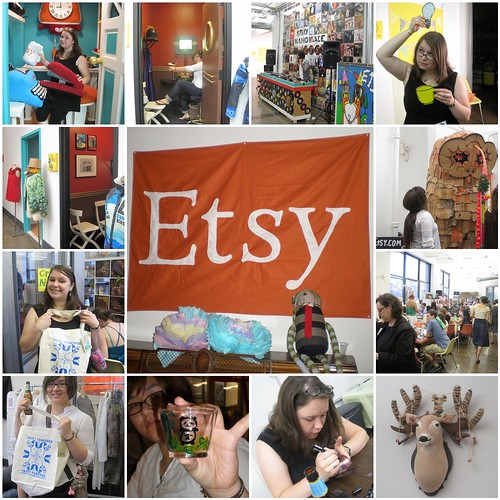
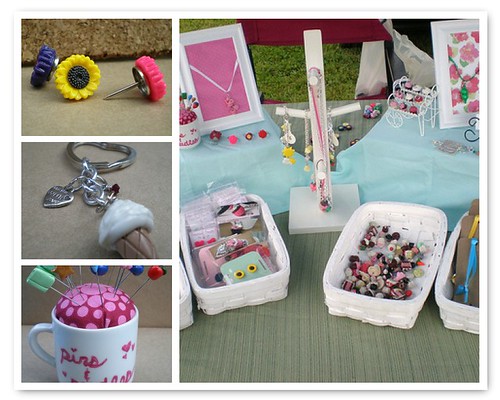
There was screen printing, snacks, silly phone booths, glass painting, button making, photo ops, a DJ, and creativity GALORE! I expect to be making a trip to Brooklyn more often now that I know how great this place is. You should, too!
Check out Etsy's weekly craft nights, I know I will be there a few times this summer! They also have many other events coming up, so be sure to give it a look!
Was anyone else at the Etsy party? We got there a little late and didn't have too much time to socialize. Leave me a comment here!